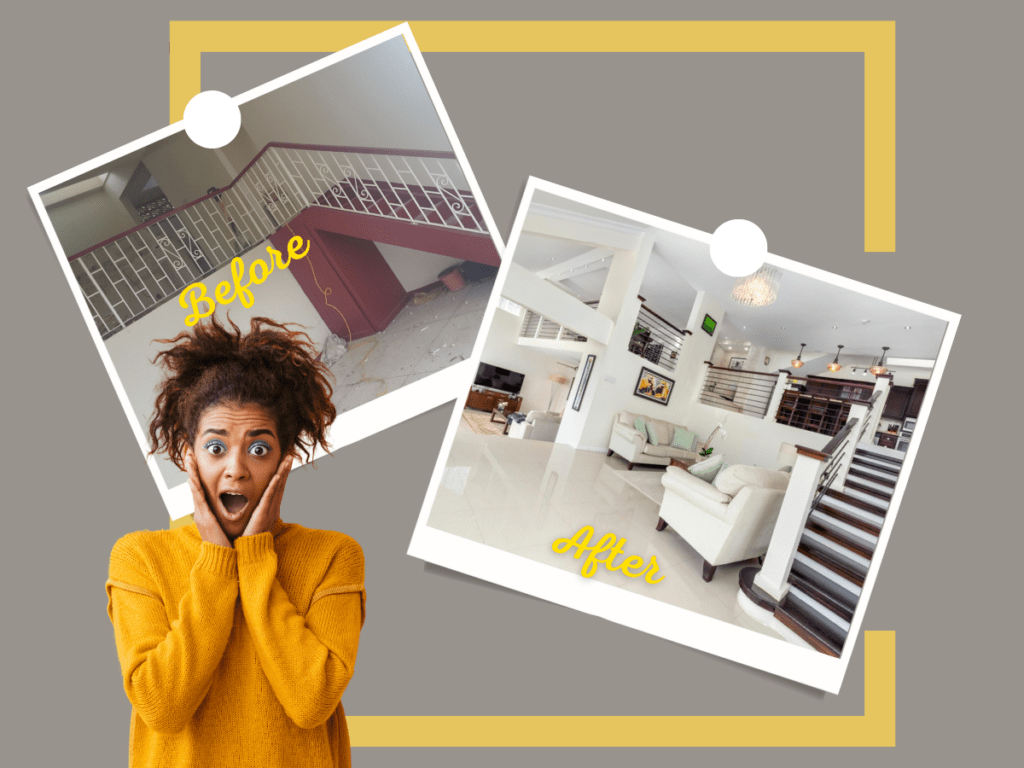
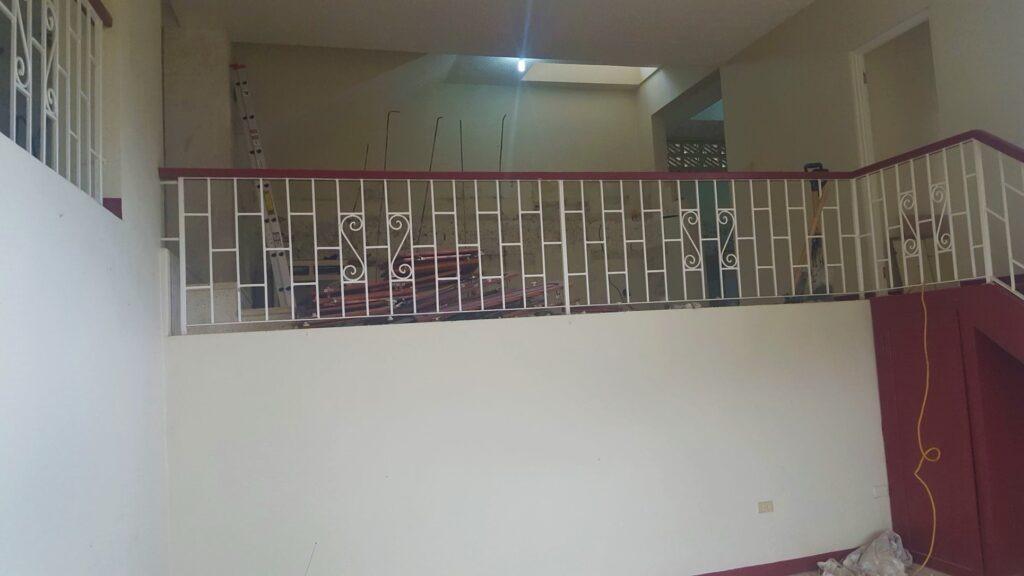
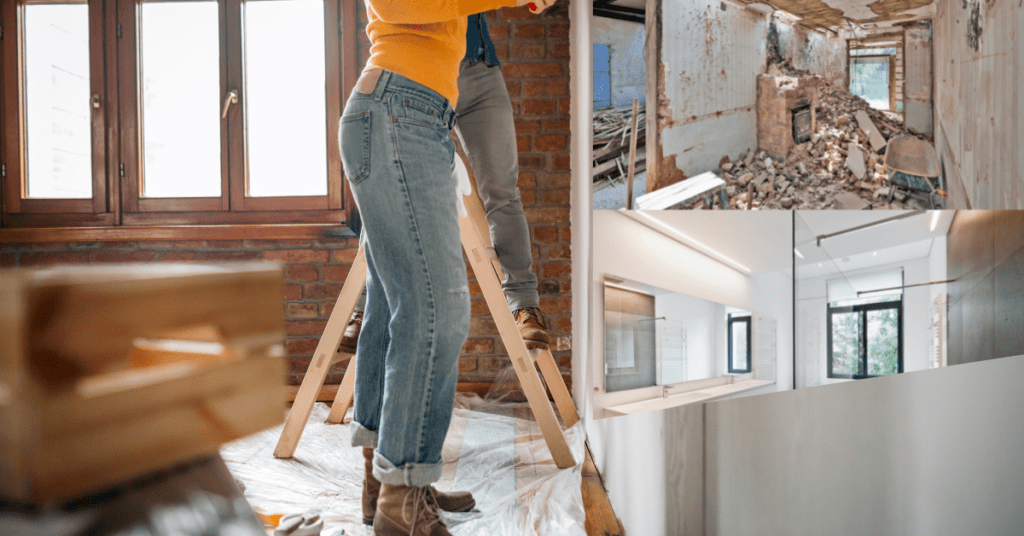
6 years ago, when we purchased our fixer upper home, we knew straight away that the staircase and surrounding railings had to go. There was no question about it! Located in the heart of our home, they were horribly dated and looked like something out of a third-rate Home Décor magazine.
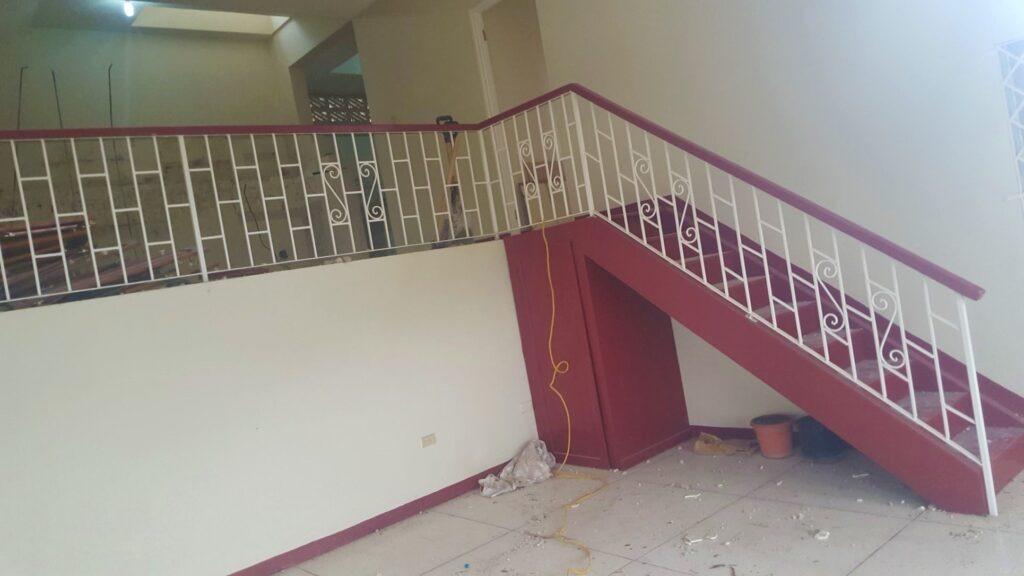
Don’t get me wrong! Traditional staircases are perfectly okay if they suit your overall décor and have at least a degree of design integrity. However, our staircase was clearly built to serve the mere functional purpose of connecting the upper floor with the lower, and it did the job well provided that you kept your eyes tightly closed.
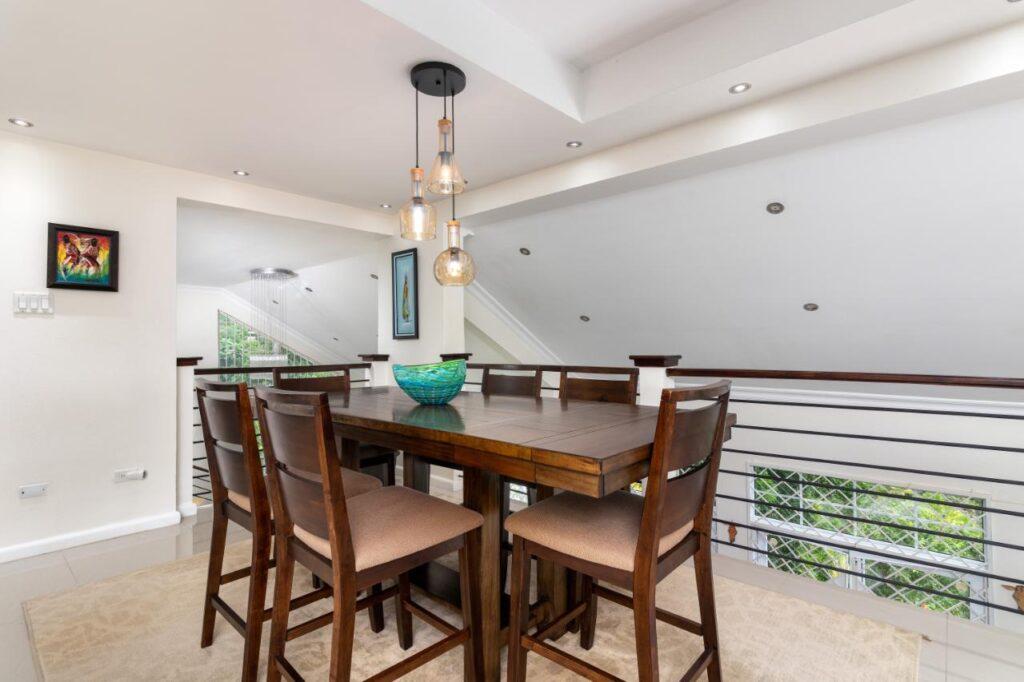
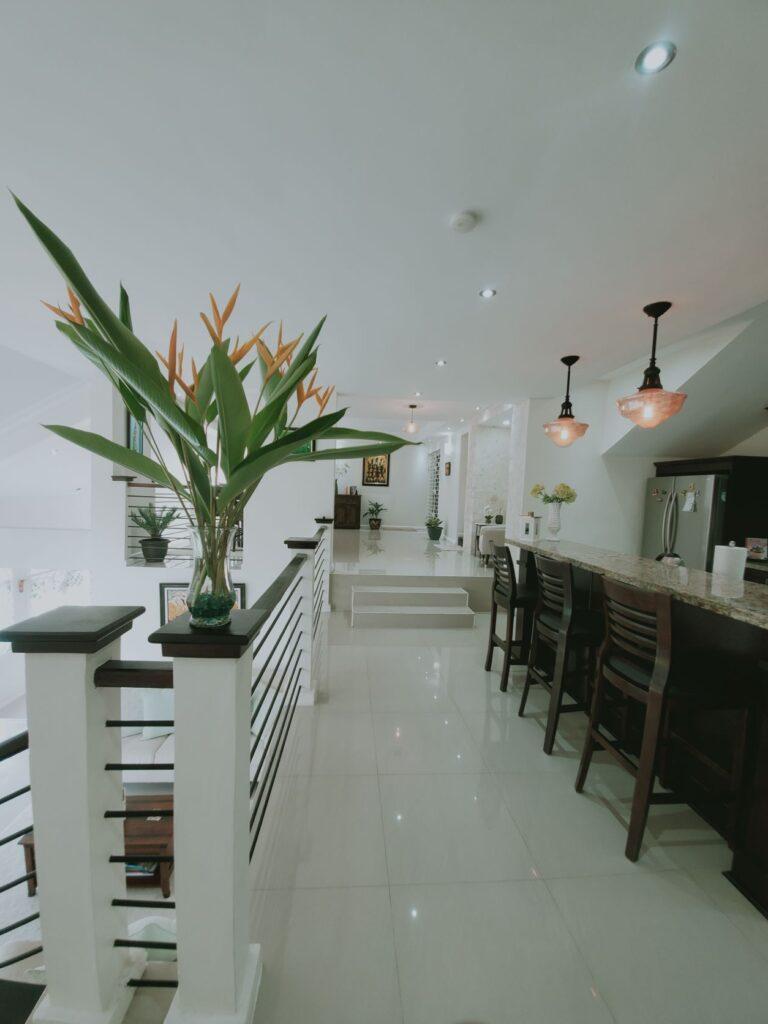
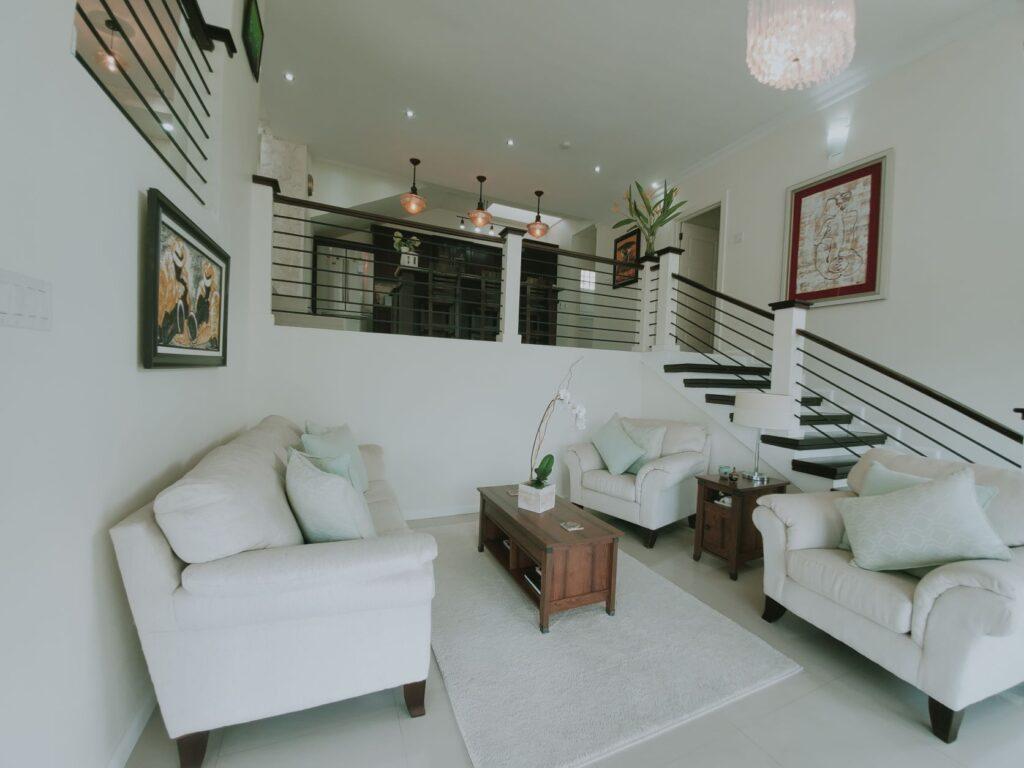
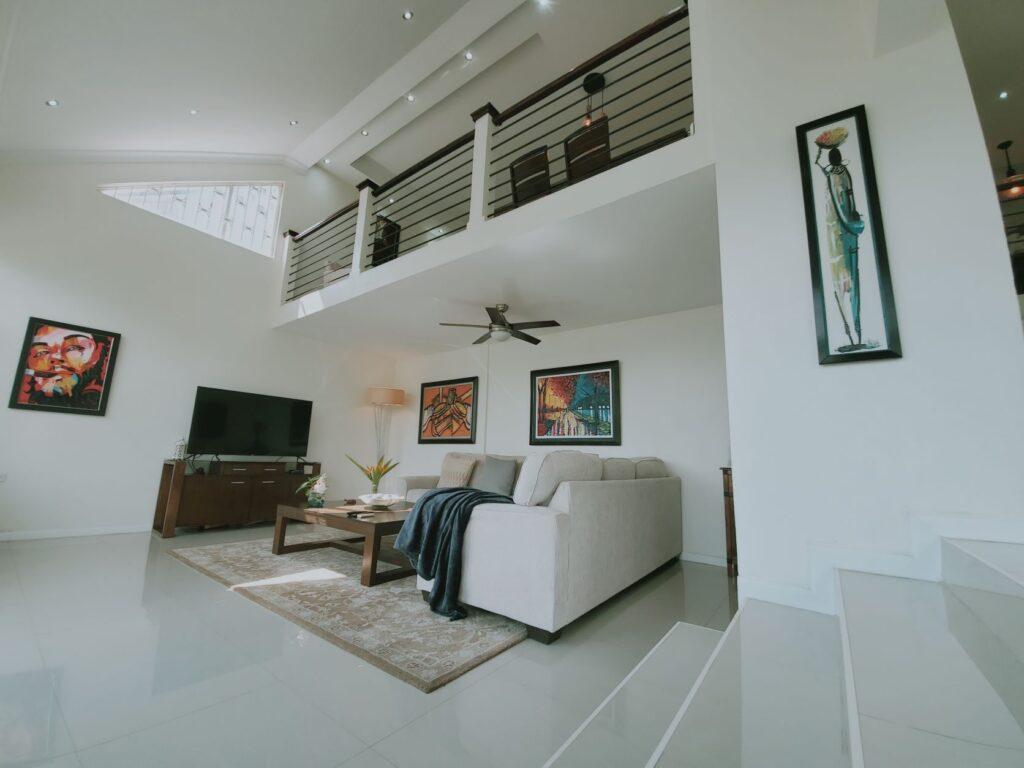
As a main focal point of our home, we knew the staircase would be an area to which many eyes would be drawn while wide open, so it needed to have some style. Additionally, we wanted a new design that would tie together the modern interior elements in our home as well as to create a natural flow.
There was only ONE PROBLEM! When we first bought our fixer-upper home, we were of the mistaken impression that we had enough money budgeted to cover the bulk of the renovation costs including the staircase.

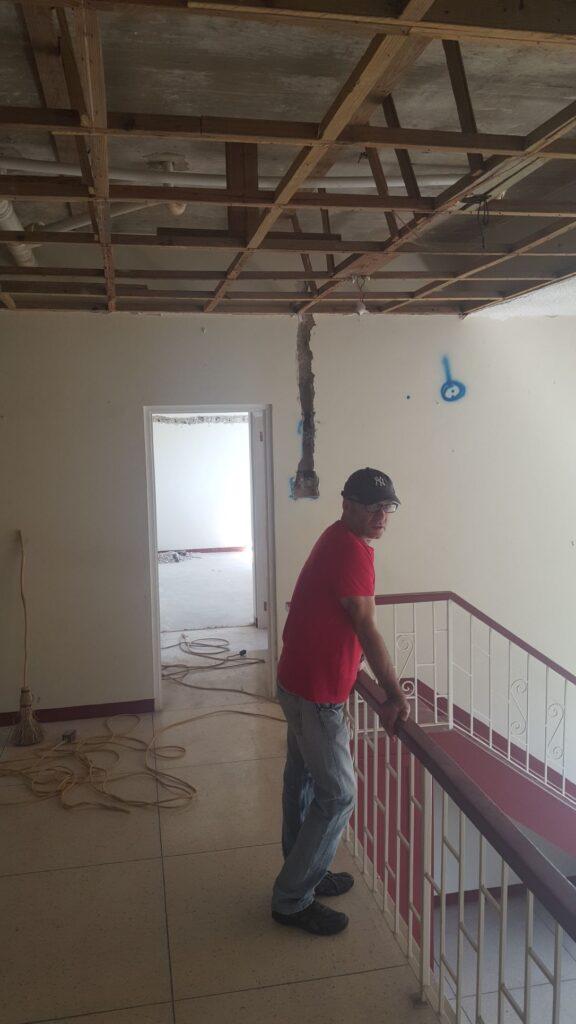
Sooner rather than later we had a rude awakening and learned that budgeting for a fixer-upper renovation can be the most challenging task because you never know what you will find when you start digging beneath the surfaces. Have you ever watched Chip & Joanna Gaines’ iconic Fixer Upper Programme on HGTV? Well, if you have, then you’ll know exactly what I am talking about. Every now and again, Chip would bump into a major unexpected problem when he starts swinging that sledgehammer and this as you know, can seriously escalate your renovation costs.
Similarly, once we started gutting our fixer-upper, a few unexpected issues began to emerge, one of which was the old 110V electrical wiring, which we knew would not be able to handle the demands of our modern appliances such as dishwasher, air conditioners and dryer. Therefore, all the fancy plans we had to order a custom-built staircase from a local manufacturer got immediately thrown through the window especially after we saw their estimates, which were in excess of JA$2m (USD15,000) at the time.
We also had to forego our plans to hire an interior designer for this very same reason. I suppose we could have opted to take out a loan at the time to boost our cashflow but somehow, we’ve never been drawn to the idea of drowning ourselves into debt. Even now, we still prefer to live within our means and if we can’t afford to buy something, we’d rather wait until we can.
So with our budget being stretched with these unforeseen yet unavoidable expenses, this simply meant that we had no other option but to do our own interior designing and décor. Google and Pinterest became my favourite go-to sites for inspirational images. I would spend whatever free time I had scouring the internet for staircase design ideas that both suited our taste and matched our budget. Once I found ones that I liked, I would save them in my pin boards or folders on my smart phone for easy access and then later seek my husband’s (Nick’s) input.
There were a couple of designs that really jumped out at me and just like that, creative inspiration struck! As soon as I spotted them, I knew instantly that they would work if I combined elements from each. Here’s why:
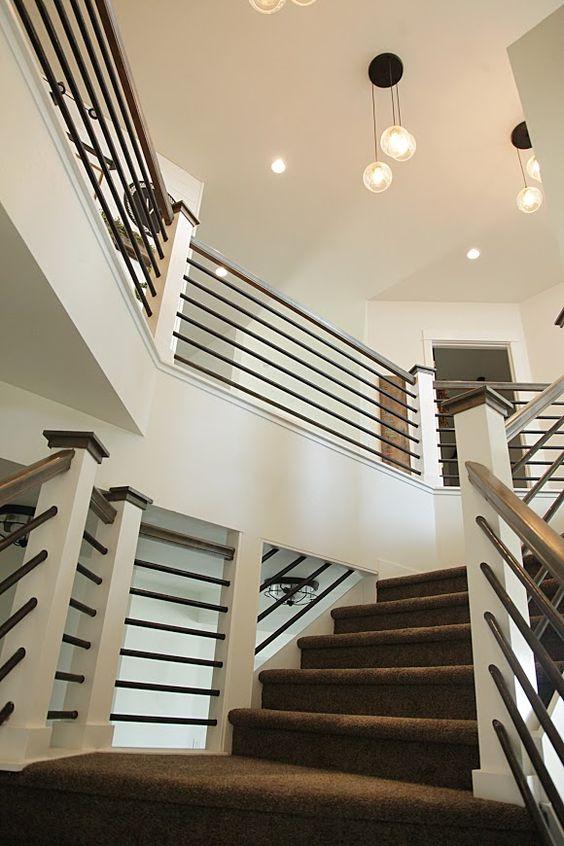
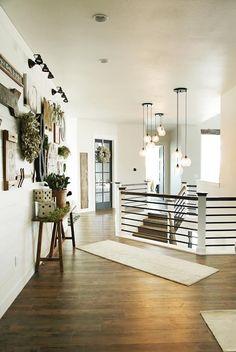
- The designs were modern and minimalist at the same time and this was exactly what we were looking for;
- The designs when combined together would be the perfect focal point for our home. It would also create a natural flow while bringing together design elements used elsewhere throughout our home in a cohesive and seamless manner;
- I knew I could get the materials required at a relatively affordable rate from the local hardware stores and if I got my workmen to purchase them under their existing accounts, I’d be getting at least a 5-10% discount; and
- I already had construction workers on my renovation site who I was confident could get the job done for a mere fraction of what the local manufacturing companies were charging.
After Nick and I agreed and signed off on the design, I called a huddle/stand-up meeting with my welder, mason and carpenter to brainstorm how we would pull off the design. It really didn’t take much time, as they understood what they individually needed to deliver on and they were prepared to work together to pull this off as a team. After the meeting, I taped the big print design to the living room wall so that they could use it as a point of reference if they ever needed to.
My mason decided to build his own concrete mouldings for the columns by recycling the wood from the old staircase. He built them all manually and it took him roughly 3 days to complete them. He then poured the cement mixture into the mouldings and left them to dry out in the sun for about 1 week to ensure that they were perfectly set. For the steps, he rebuilt them using blocks, steel and concrete.
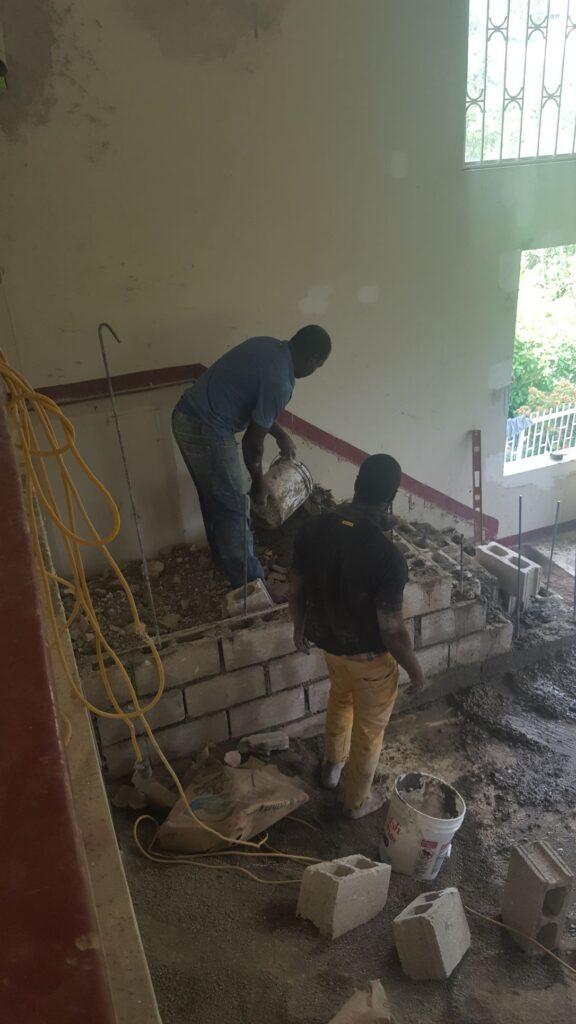

As for my carpenter, he proceeded to order treated mahogany wood from a local wood supplier in order to build the wooden steps, bannisters and individual caps for the concrete columns while my welder bought a few lengths of round steel from our local hardware to construct the railings.
Aside from the occasional supervision to ensure that the work was moving along at a reasonable pace and that the workmanship was decent, we stayed out of their way for the most part and let them carry on with the show. They did a superb job! It was a classic case of “teamwork makes the dream work”.
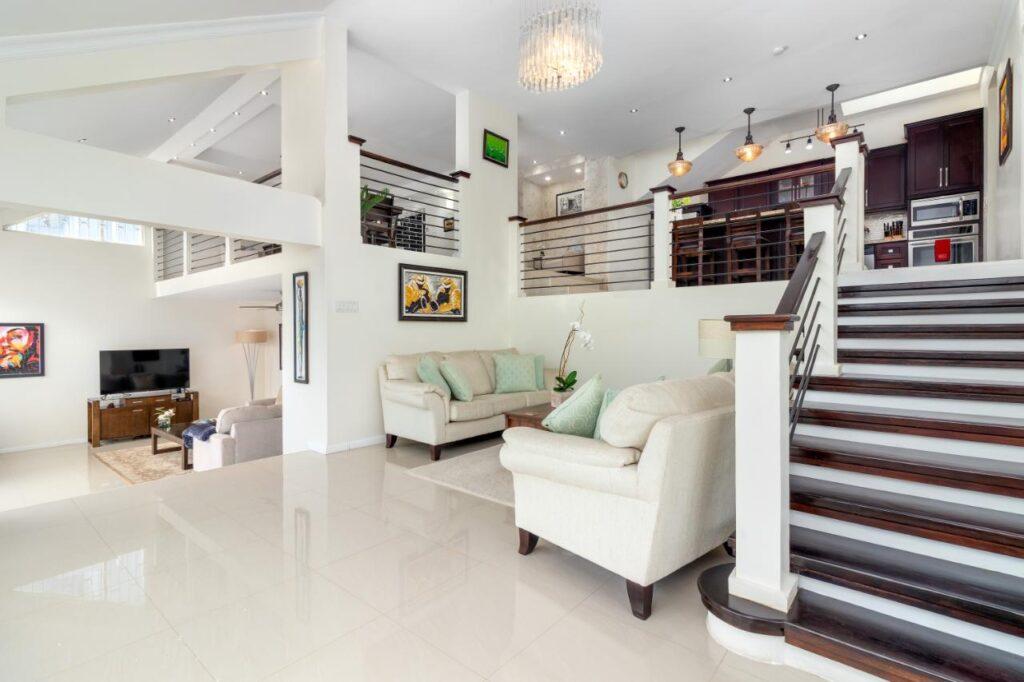
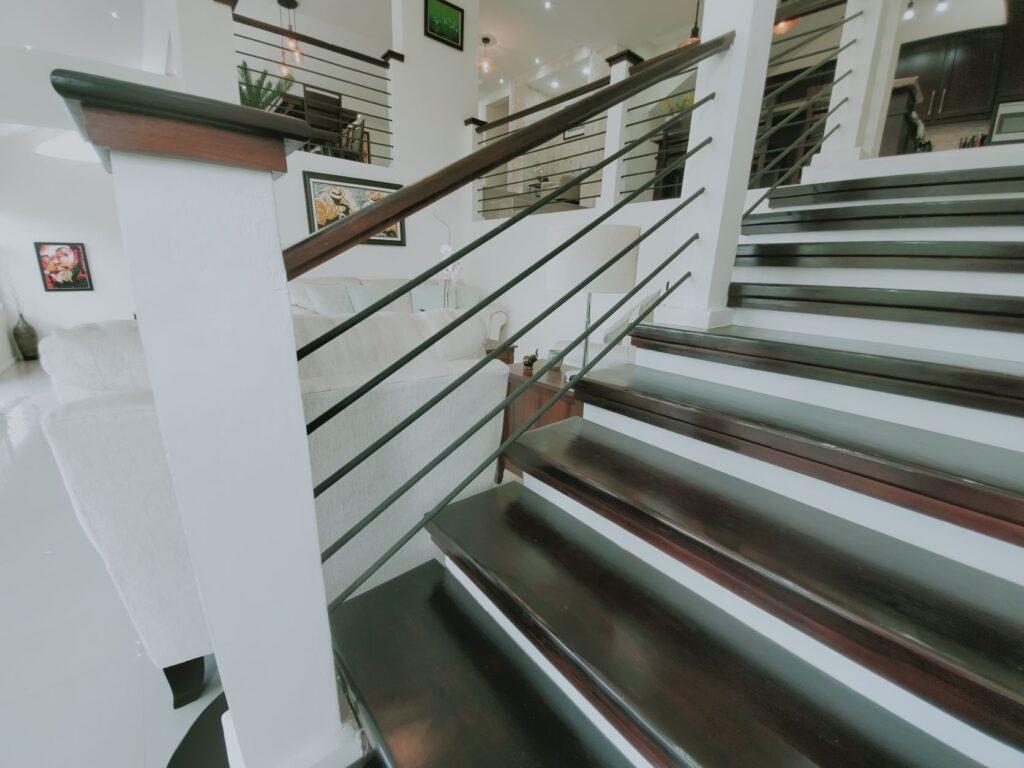
It took them approximately 4 weeks to build and install the new staircase but we were very pleased with the outcome. It was a gorgeous transformation and the combination of the natural wood with the steel bars and concrete columns complimented the neutral wall tones and other elements within the home.
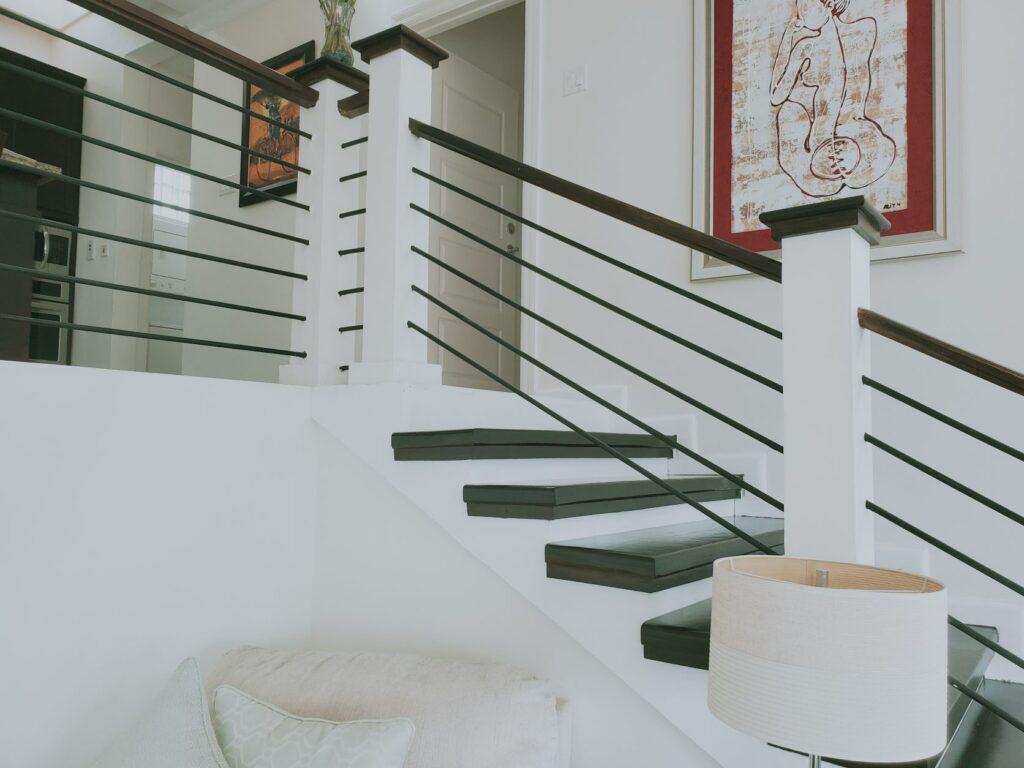
The whole thing cost us a mere JA$300,000 (USD2,000) at the time including both labour and material, which equates to a mere 15% of the professional quote. Throughout the years it’s become a focal point and statement piece for our home and it is often one of the first features our guests are drawn to when they enter our house for the first time. It’s also a conversation piece when we have visitors, as we are able to share our journey and story on how we managed to design and build our staircase on a very conservative budget.
Here are 4 Pro Tips I’d like to leave with if you are thinking of embarking upon a similar budget friendly project in your fixer-upper house or if you are considering doing some low-cost renovations around your home:
1. DIY What You Can
The Covid-19 pandemic together with trade labour shortage, have led to dramatic increases in supply costs and for the foreseeable future, they will continue to trend upwards. It therefore means that if you are planning to do renovations or home improvement, going the do-it-yourself route should cut expenses substantially. This is probably the best thing you can do to counter increasing inflation rates.
If you decide to take on your own renovations or aspects of it, be sure to check in with your local municipal office to see if any special building permits are required, especially if you plan on making any structural alterations or modifications to the external areas of your home.
Of course, not everyone can do their own renovations, as you might not have the right skill sets to pull it off successfully. However, that should not stop you from exploring other cost-effective measures such as Pro Tip # 2 below.
2. If you can’t DIY, find workers who can do the job at affordable rates while ensuring satisfactory quality
Talk to people who have already done renovation projects or who are into the business of construction and renovations. Ask them to recommend good workers with solid track records who can deliver work at competitive rates. In my case, I spoke with a condo developer friend of mine and he was able to provide me with all the workers I needed for each phase of my renovation project. I was lucky enough to get the crème de la crème.
3. Be Creative & Scour the Internet for Designs Ideas
If you’ve never thought of opening a Pinterest account then you absolutely need to do so if you are planning on doing a reno around your home or fixer-upper on a low budget. Google Images can be just as effective but with Pinterest you can save your favourites to virtual pin boards, which are like folders, and you have the added benefit of sharing your design ideas with your family or friends if you wish to seek their input.
The key benefit to using tools like Pinterest is its sheer ease of use as well as access to a multitude of visual inspirations for just about any aspect of your home. If interior design companies themselves use Pinterest for inspiration, then why can’t you? It could definitely save you a penny or two.
4. Recycle or Reuse Material
When you are planning to renovate your home, why not give recycled or reclaimed construction materials a second chance? Aside from the benefit of reducing your carbon footprint, there is added advantage of lowering your costs.
As in my case, repurposed wood from my old staircase was used to build the concrete mouldings for my new staircase columns and this helped me to dramatically cut the overall costs for the construction of my staircase.
If you buy an old house or fixer-upper and opt to demo all or parts of the home, think about how you can salvage the parts rather than putting them in the dumpster and paying to send them to a landfill. For example: can you repaint the front door instead of throwing it out? Instead of replacing the old kitchen cabinets or pantry shelves, why not paint them at a fraction of the costs?
I really hope you enjoyed the read. How do you think my new staircase turned out? Do you like it? Have you ever done a home reno project before? If yes, what were some of the ways you went about cutting costs? Please drop us a comment below.

Author
Monique Abbott
Hi, I ’m Monique, founder and editor-in-chief of Yes2Yolo, travel addict, lover of home makeover projects among many other passions, including creative and inspirational writing to embolden us to live our best lives. At my core, I am a creative artistic being and I believe that creativity knows no end.
…
I’ve explored over 60 countries with my husband Nick. Together we’ve partnered on some truly exciting projects such as creating and running a successful Airbnb business, chairing condo boards, purchasing fixer-uppers and renovating them from scratch on our own while balancing all of this with full-time jobs and family.
…
While my personal passions are travel and home décor, I am, by profession, a lawyer with over 17 years experience.

Definitely love that staircase! These tips were so practical and helpful (for eg, I never thought of Pintrest as a shared vision board for a reno!) Separately, the right workers can be tricky to find. I love that yours were able to work together so well to pull it off, and at a reasonable price! Nuff respect to them. I’ll remember Tip 2 for sure.
Thank you so much Renee! Really appreciate you dropping me a line. You are right, finding good workers can be tricky and that’s why it’s best to work with recommendations and those who have a good track record of delivering. Thanks again and have a lovely weekend.
Simply magical Monique!
Thank you very much Michelle!
Beautiful renovation! Very inspiring
Thank you Sherice! Do appreciate you reading our article.
I am obsessed with the reno! I was drawn into the process from start to finish. Well Done Monique..
Thank you so much Rhianne! Cheers!